In the buttons area (on the right side of the interface), select the “View layer properties” tab.

Under “cryptomatte” turn on “object”, “material” or “asset”. I like “asset” since it let’s me select entire rigs that consist of several parts.

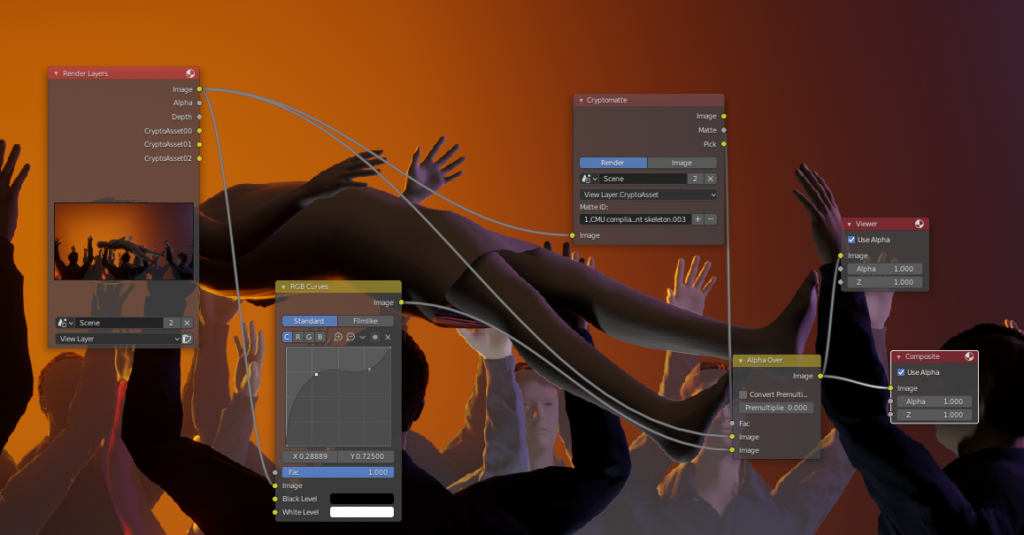
Go to the “compositing” workspace.
Turn on “use nodes”.

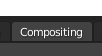
Add a viewer node with shift+a –> output –> viewer.
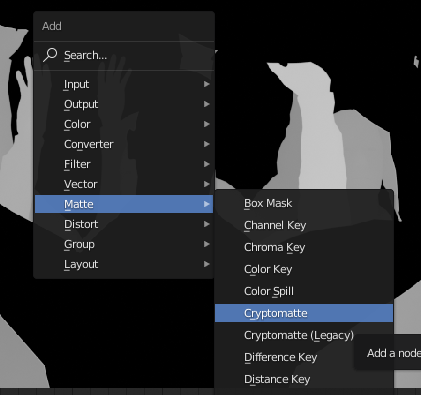
Add the cryptomatte node from Matte –> Cryptomatte.
Connect the image output from the render layers node to the image input of the Cryptomatte node. Connect the “pick” output from the Cryptomatte node to the image input of the viewer node. Render the scene (keyboard shortcut F12).
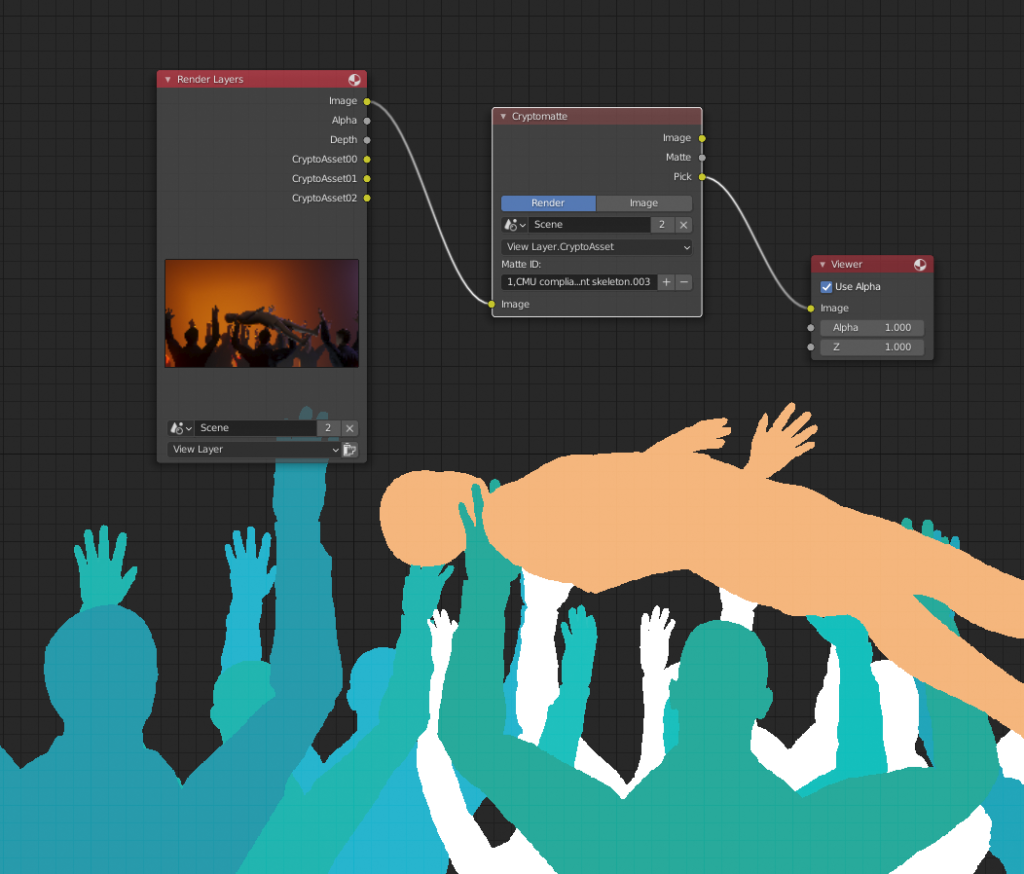
You should now see different matte colors that identify different assets in your render layer. Use the + button to access the eyedropper tool and select as many assets as you need for the matte you are building.
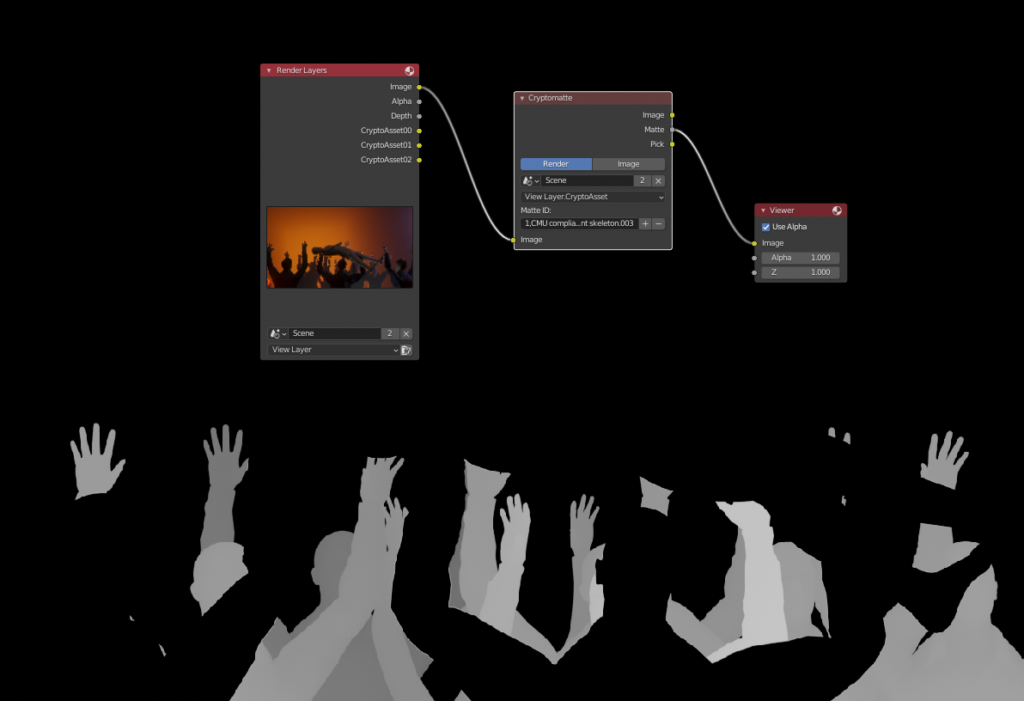
To see the actual matte, you can plug the “matte” output from the Cryptomatte node to the viewer.
Now you have a matte that you can use in various way when you are compositing. As a simple example, you could color correct the matted area by combining two copies of the input image with the “AlphaOver” node while using the matte as the factor. Then simply drop a color correction node like RGB curves between the bottom image connection.