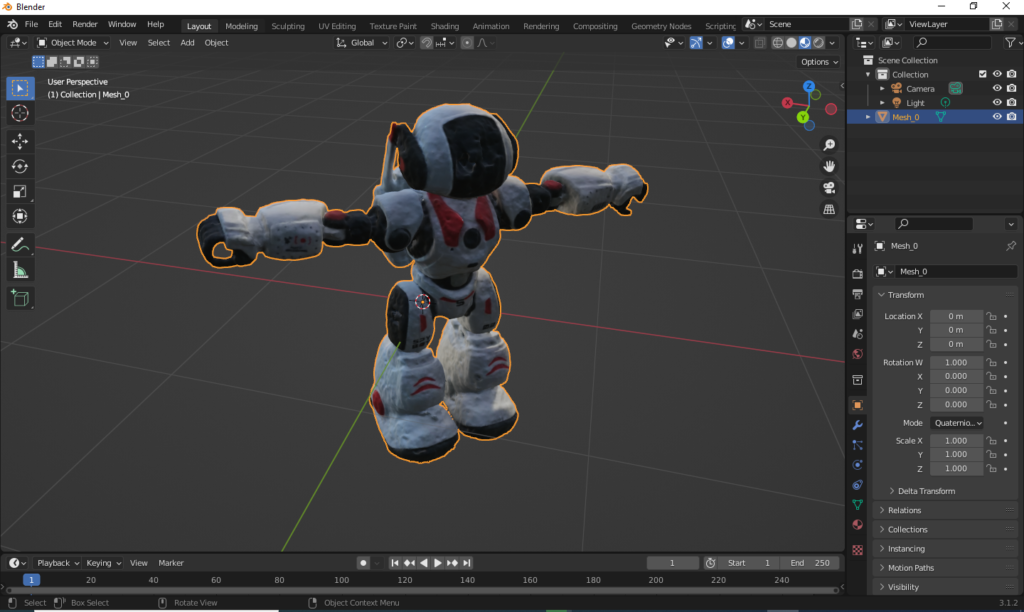
When you’re working with image planes or textured quads in Godot 4.5, one of the most common headaches is getting them to fit exactly inside the game camera view.
Maybe you’ve rendered a 2K background, a pre-baked scene layer, or a stylized UI element you want displayed in 3D space — not in a 2D canvas or control node. You size your plane to match the image resolution, align it by hand, adjust scale, tweak position… and it still never quite fills the game viewport the way you expect.
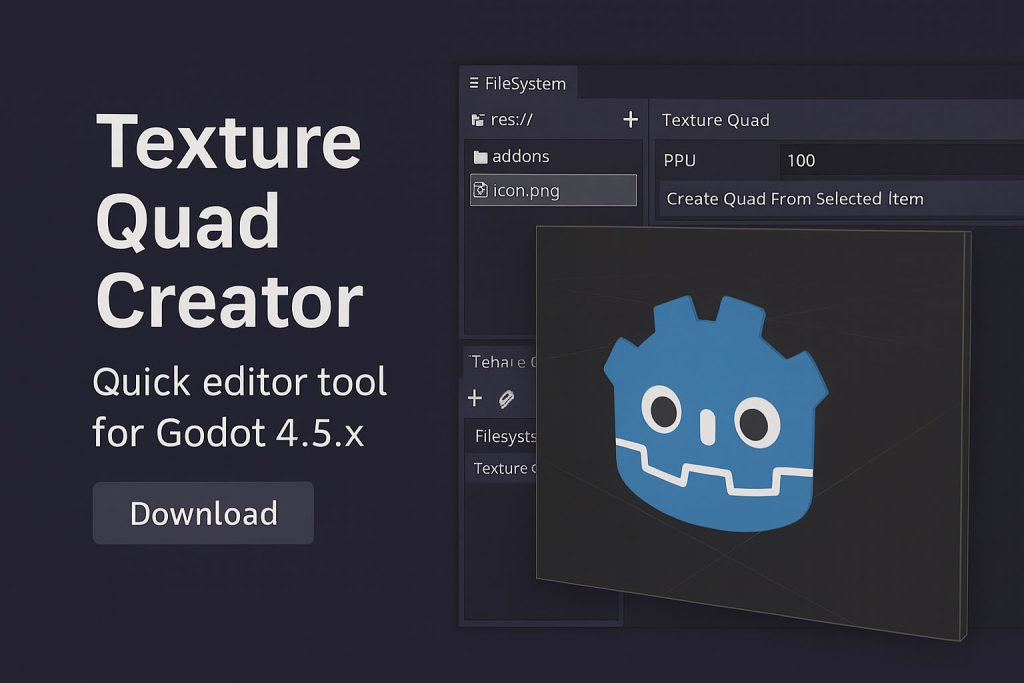
That’s where Fit Plane To Game Camera comes in.
What it does
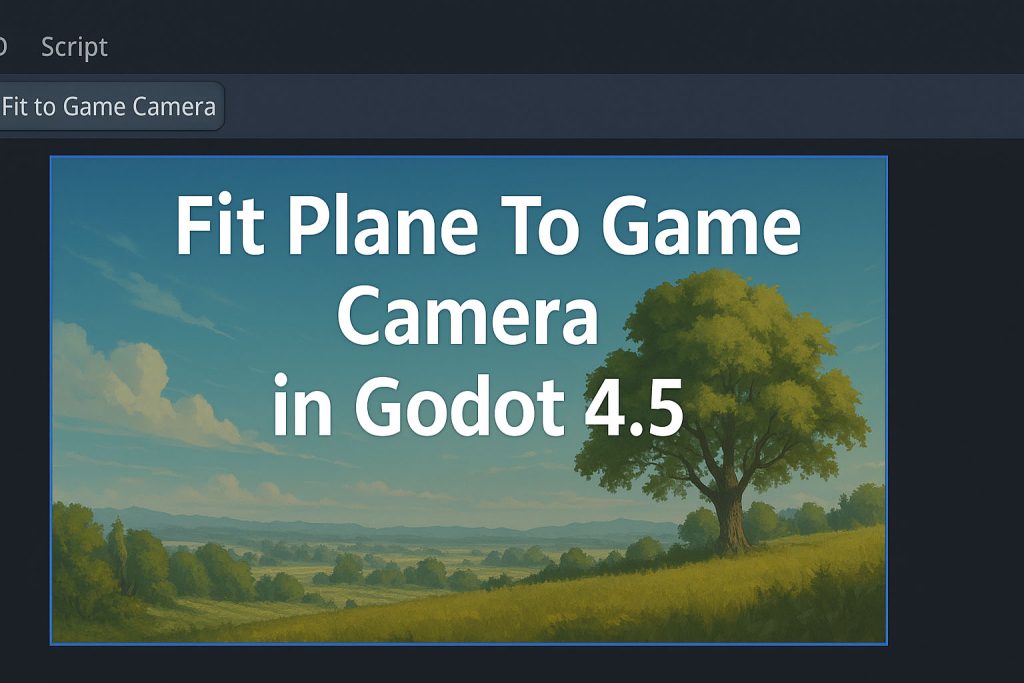
Fit Plane To Game Camera is a tiny Godot editor plugin that adds a single button to your 3D editor menu:
“Fit to Game Camera.”
When pressed, it automatically:
- Finds your active
Camera3D(the one with Current enabled) - Reads your project’s game resolution from Project Settings
- Rotates, scales, and positions the selected MeshInstance3D plane
- Ensures it fills the camera’s in-game view exactly edge-to-edge
- Works with both Perspective and Orthogonal camera projections
- Leaves the plane unparented (no runtime linking or scripts required)
The result: your 2K (or any resolution) image sits perfectly inside the game frame — no guessing, no hand-alignment, no UI layers.
When to use it
This is ideal when you want to:
- Display a 2D image or graphic in 3D space — such as a backdrop, matte painting, or projection surface
- Composite 3D elements over a pre-rendered or painted background
- Place orthographic UI-style planes without switching to
CanvasLayeror Control nodes - Align a fullscreen effect plane in front of your camera for fades, transitions, or shaders
Essentially: any time you want a textured plane to exactly fill your camera’s in-game viewport
How to install
- Drop the folder
res://addons/fit_plane_to_game_camera/into your project. - Go to Project → Project Settings → Plugins
and enable Fit Plane To Game Camera. - In your scene, make sure your Camera3D has Current turned on.
- Select your MeshInstance3D (usually a QuadMesh plane).
- Click Fit to Game Camera in the top 3D menu.
Done. The plane now fills the camera view exactly as it will appear in the running game.
Why this exists
When testing art-driven or cinematic scenes, I often wanted to import a high-resolution image — a 2K sky matte, for example — and see it precisely in 3D without manually guessing the scale or FOV.
Godot’s editor view and game view can differ subtly in projection, so eyeballing it was never reliable.
This plugin solves that permanently: one click, instant framing.