Here’s how to work with the Blender 3.4 pose library and assets browser:
Create the pose you need in pose mode. Select the bones that are required for the pose.
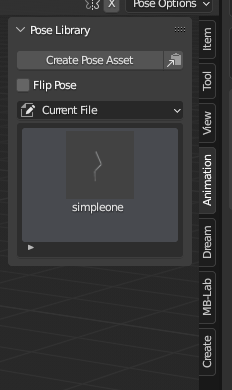
Save poses (still in pose mode) from the right side toolbar’s “animation” tab by clicking “Create Pose Asset”:
You can name the pose from the F9 operator dialogue.
You only need one pose for each side, since the poses can be flipped with “Flip Pose”.
Simply click on a pose thumbnail to apply it.
You can also right click on a thumbnail to select all the pose bones.
You can click and drag on a pose thumbnail to mix between to poses.
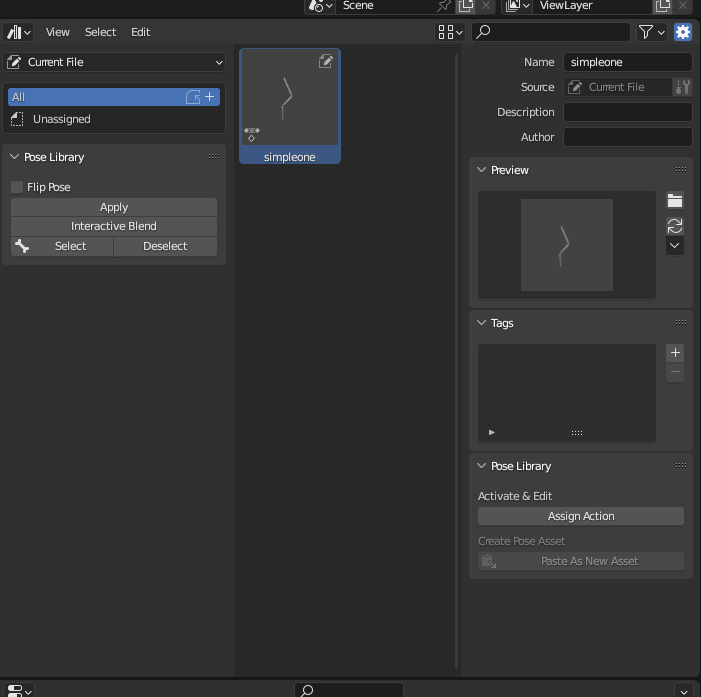
The thumbnail from the pose is rendered from the active camera. You can later change it from the Asset Browser window if needed from the “generate preview” button:
If you want to create a global “user library”, save the .blend file in the Assets directory. By default it’s in Windows: C:\Users\myusername\Documents\Blender\Assets\
It should now show up under “user library” in the assets browser, also for any new .blend files that you create.
You can save as many files as you need to the Assets folder, and each one of them will show up in the Assets panel under “user assets”