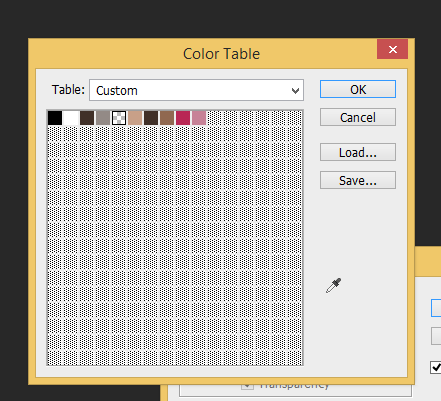
Deleting colors from a forced color palette in Photoshop
This is a very specific topic, but it was hard to find information about it online, so I’ll post my findings here.
If you want to force a certain color palette on your image in Photoshop you can choose
Image –> Mode –> Indexed Color.
A window will pop up where you can choose a palette. If you want to create your own palette in which you select all the colors, you can do this:
Set the palette to “custom”. A color table window will open. You can delete existing colors by ctrl-clicking on them. You can add more colors by clicking an empty color slot and picking a color for it.

Here’s a quick gif-like video of creating custom color tables (ACT-files) in Photoshop and saving them for later use:
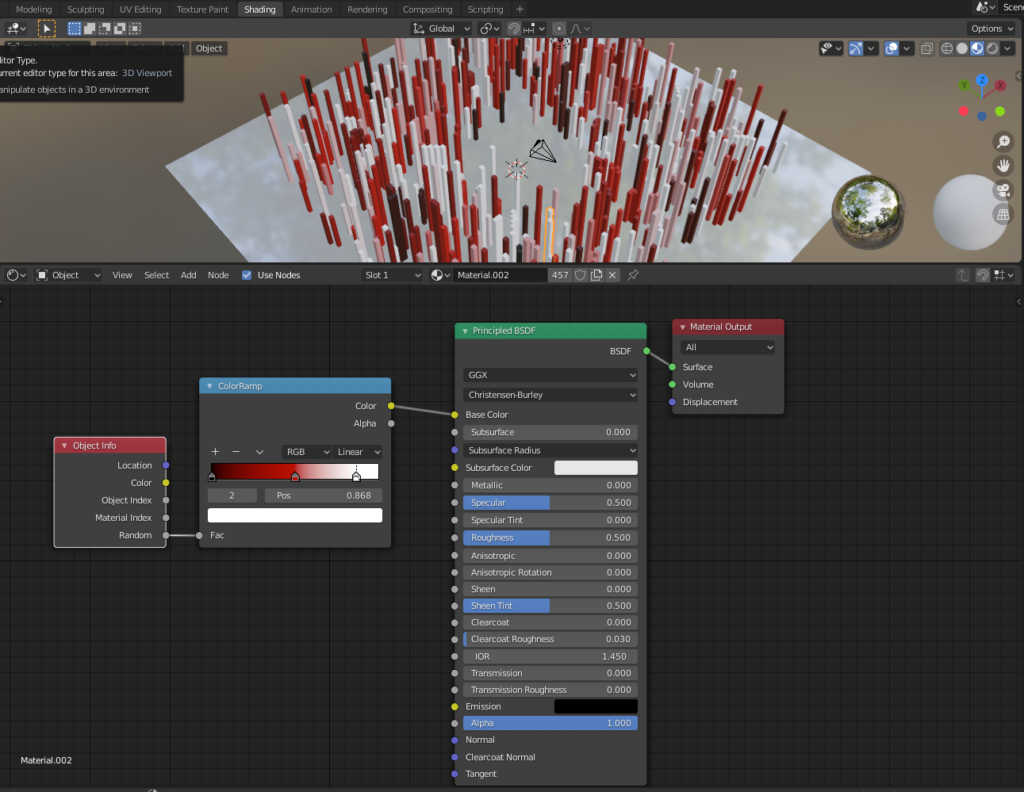
Random object colors in Blender EEVEE
Hair modeling tips for Blender
I have recently been doing hair renders in Blender and thought I would share some key tips that I have learned along the way:
- Use multiple particle systems. If you put all your hair in just one particle system, it becomes really tedious to edit the hair. You’ll end up combing hair that you didn’t mean to etc.
- Place the hair manually in hair edit mode (with the add hair brush). So set the initial amount to zero in the particle settings. Comb after every round of hair.
- Use simple children instead of interpolated, they are much easier to handle in the edit mode.
- To make the interpolated children more fluffy, increase the “radius” value.
- Be careful with the Path –> steps value, large values made my Blender crash.
- Use the Hair BSDF if you are rendering with Cycles. As of now that won’t work for Eevee so you’ll need to create your own shader for Eevee.
- Subdivide the roots of your hair in edit mode, because the hair needs more bend right where it comes out from the head. Also use enough keys when creating the hair strands.
Using Blender as a vector drawing program
I’m currently working on a project in which I need to create a lot of vector drawings. After trying Inkscape for a moment and having some frustrations with the user interface there, I decided to return to my favorite software: Blender. In this post I will document the things I learn while using the grease pencil tool to create vector art in Blender.
Continue reading “Using Blender as a vector drawing program”Colorize or tint an SVG image with CSS
This is a quick example of how you can tint an svg image even if it’s added to the page externally (it’s not an inline svg):
Continue reading “Colorize or tint an SVG image with CSS”Comparison of Android drawing apps
This post documents my research for finding a good drawing app for my Samsung Galaxy Tab 10 Android tablet. I will add more apps as I discover and test them.
Continue reading “Comparison of Android drawing apps”
