Who doesn’t love UI icons, especially when they are designed in a beautiful and consistent style?
And who doesn’t love permissible licenses that allow both commercial and non-commercial use without attribution?
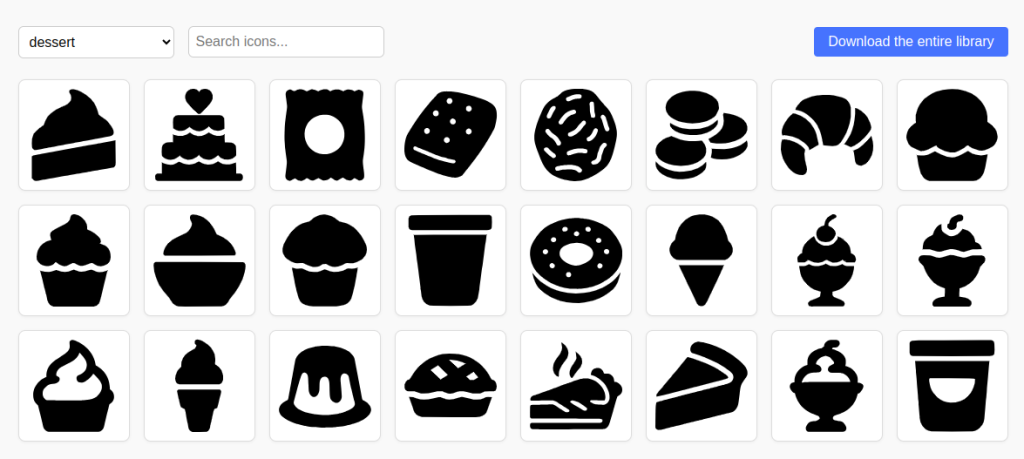
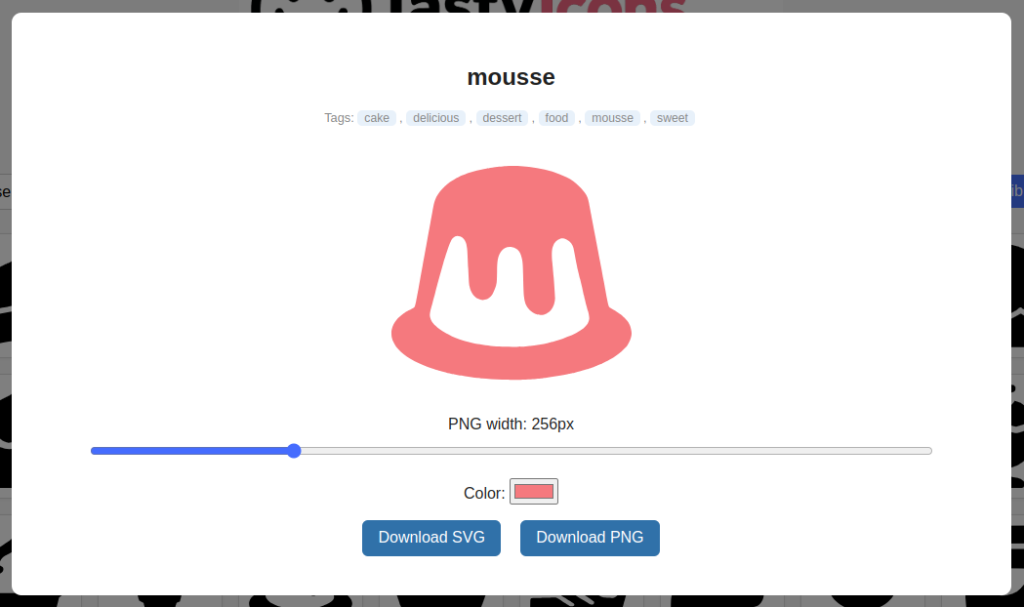
TastyIcons is a great new icon library that matches all those conditions. It has advanced categorization, tagging and search and it let’s use customize your icons before download.
Here are some screenshots:
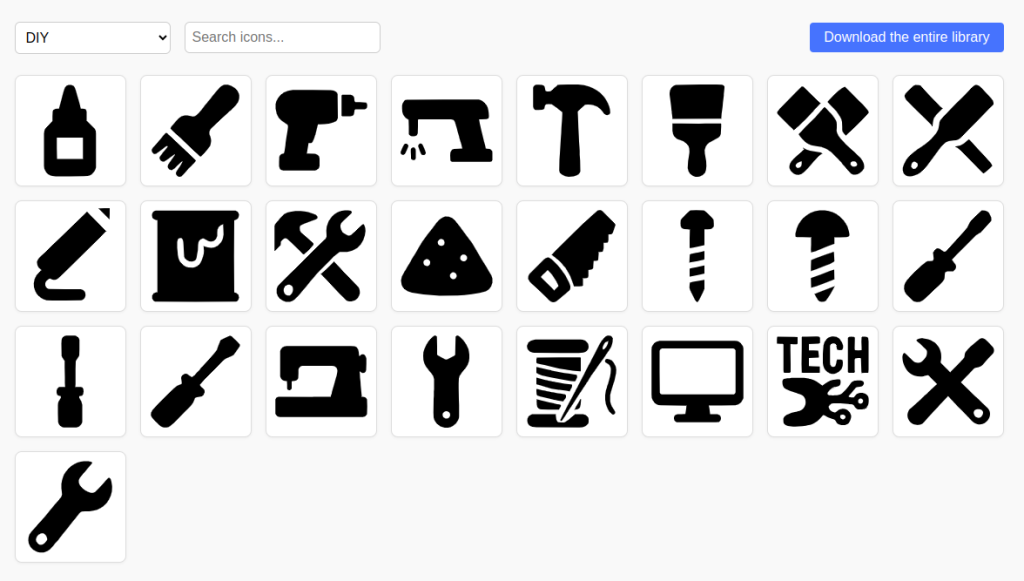
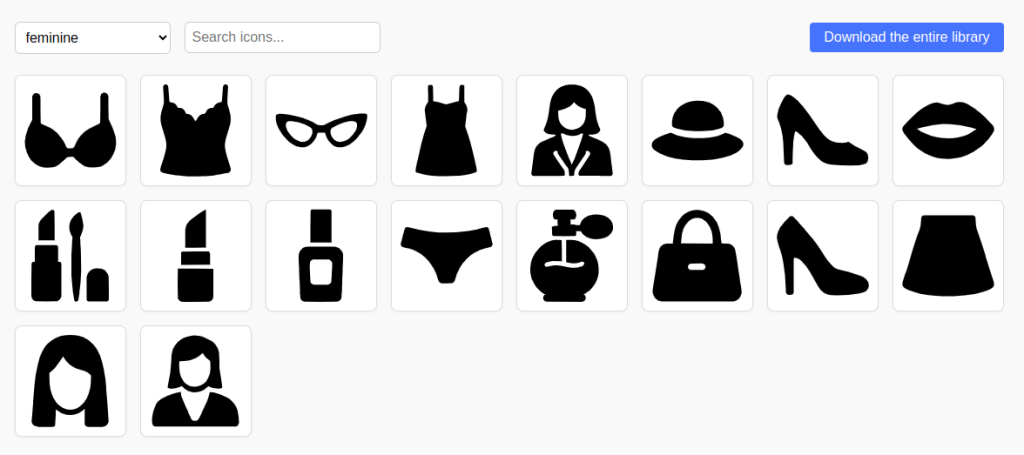
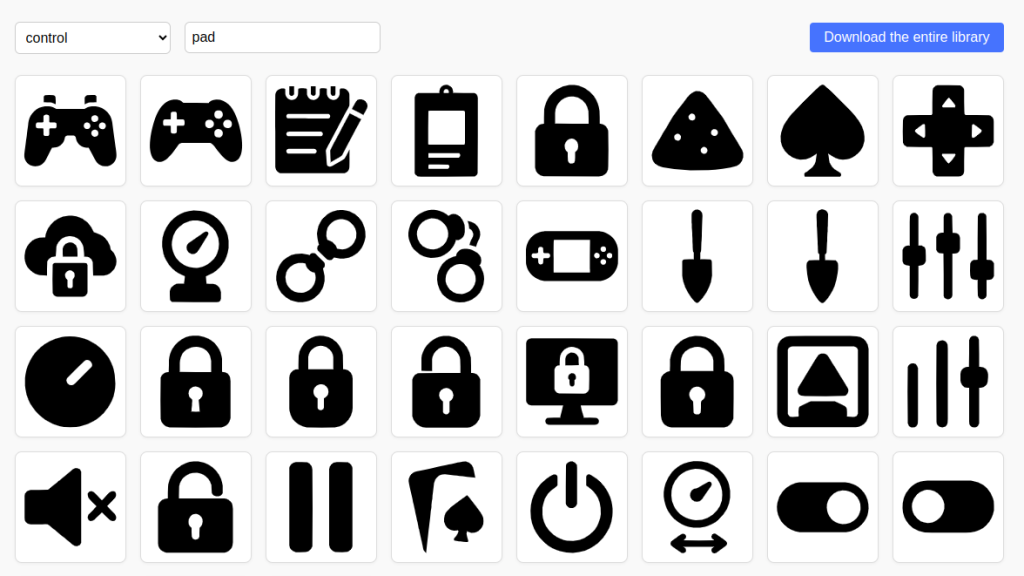
Visit TastyIcons now!