Being able to work efficiently with different kinds of nodes in Blender is becoming increasingly important. These basic node related keyboard shortcuts should work in all of the Node editors in Blender including material nodes, the compositor and geometry nodes.
Add new node: shift+A
Just like you can add new objects with shift+a, the same shortcut also works for adding new nodes. If you want to immediately enter the search mode, read about the next shortcut below.
Add new node and search immediately: shift+A, then S
If you want to search for the name of the node instead of browsing through the categories, hit s immediately after hitting shift+a and it will take you to the search bar.
Disable a node: M
Sometimes you just want to see the results of a node tree without a certain node. In that case you can easily mute a node by selecting it and hitting M on your keyboard.
Delete a node: X
Just like you would expect, hitting X on the keyboard will delete the selected node(s).
Delete with reconnect: ctrl+X
If you want to delete a node in the middle of a node tree and automatically connect the node that came before the deleted node to the node where the deleted node was connected to, simply hit ctrl+X to delete the node from between.
Backdrop Zoom: V and alt+V
If you need to zoom out of the backdrop image to see it completely, just hit V on the keyboard. Zoom in by pressing alt+V.
Duplicate a node: shift+D
To make a duplicate of the selected node(s), just hit shift+D on the keyboard.
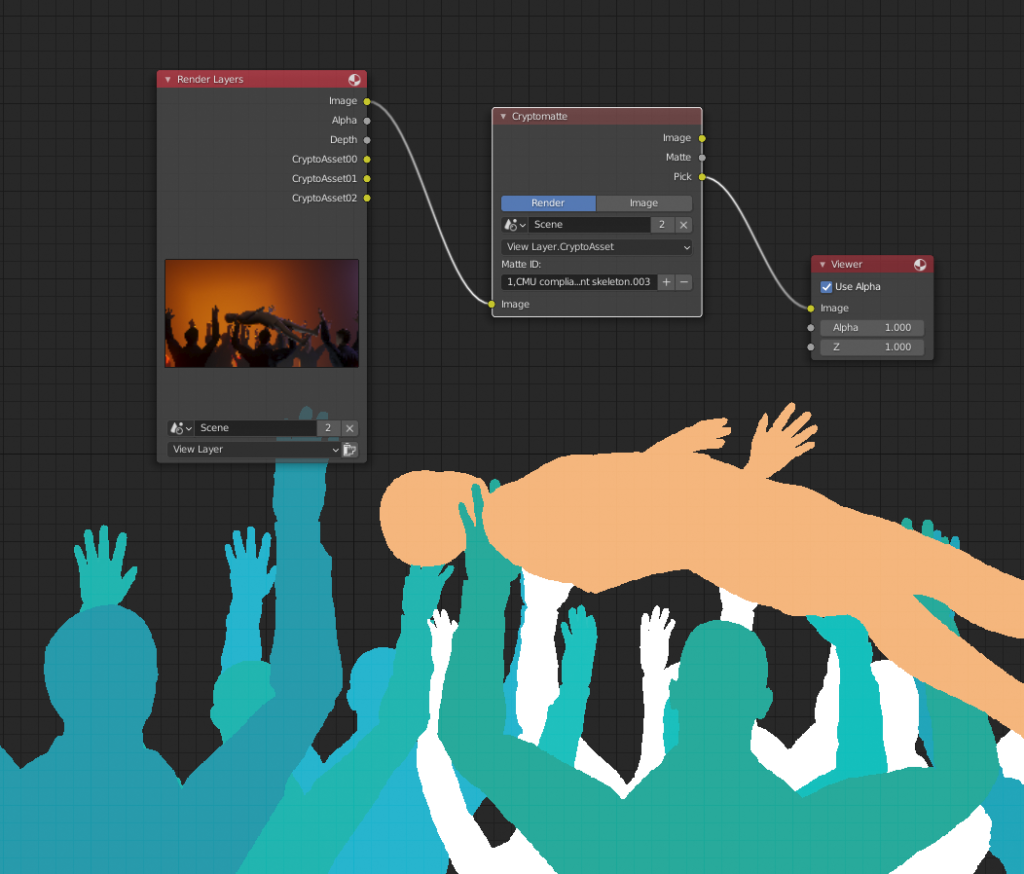
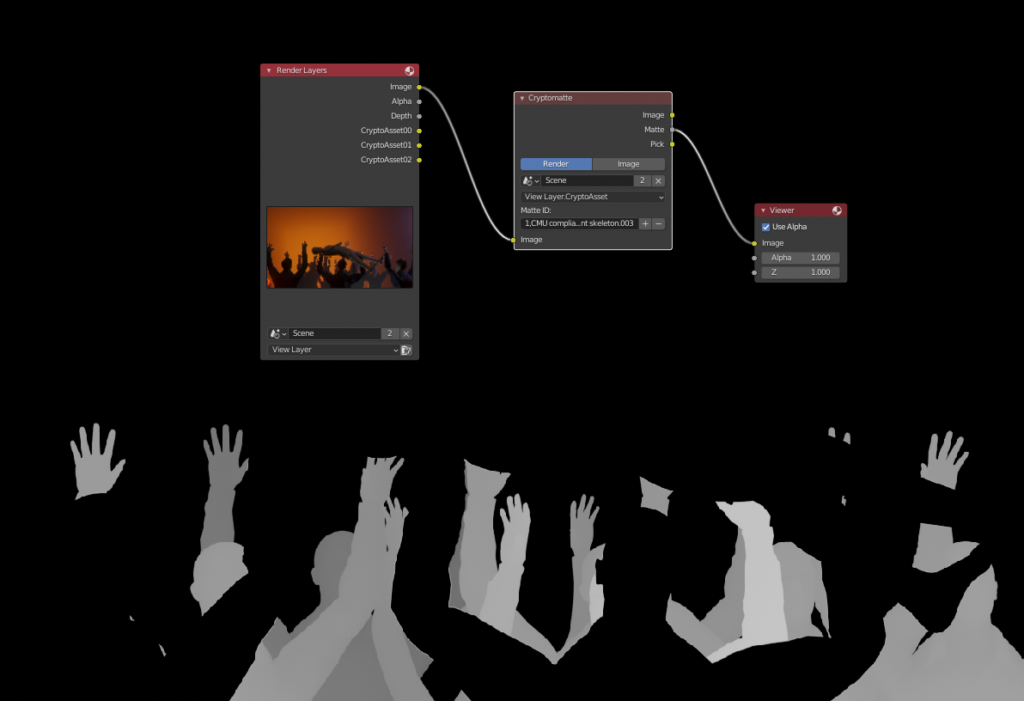
Connect a node to the viewer: ctrl+shift+leftclick
If you want to quickly connect a node’s output to the viewer node to see the result of the node, just hold down shift and control and left-click on the node you want to connect.
Cut a node connection: ctrl+rightclick-drag
If you want to cut a node connection, hold down control and the right mouse button and drag over the connection line.
Collapse node: H
Sometimes you want to collapse a node so that it takes less space. To do that, simply select the node and hit H on your keyboard and the node inputs will no longer be visible. If you want to reopen a collapsed node, simply hit H again.
Create node group: ctrl+G
Grouping nodes together allows you to simplify your node trees. By grouping several nodes together it is like combining them so that they appear to be just a single node. Simply select the nodes that you want to group together and hit ctrl+G. Note that all node types cannot be grouped together. For example you can’t put the “render layers” node in a node group.
Enter or exit node group: tab
After grouping nodes, Blender will automatically take you inside the group. To exit the node group, press tab on the keyboard. Similarly, to enter a node group, select the group and press tab.