Do you just want to import a image to Godot and automatically create a same size 3d-mesh for it with alpha automatically handled correctly? I did, so I made a tiny Godot editor plugin that turns any image in your FileSystem into a perfectly-sized, alpha-friendly 3D quad. This post explains what it does, how to install and use it, and a few quick troubleshooting tips
What it is
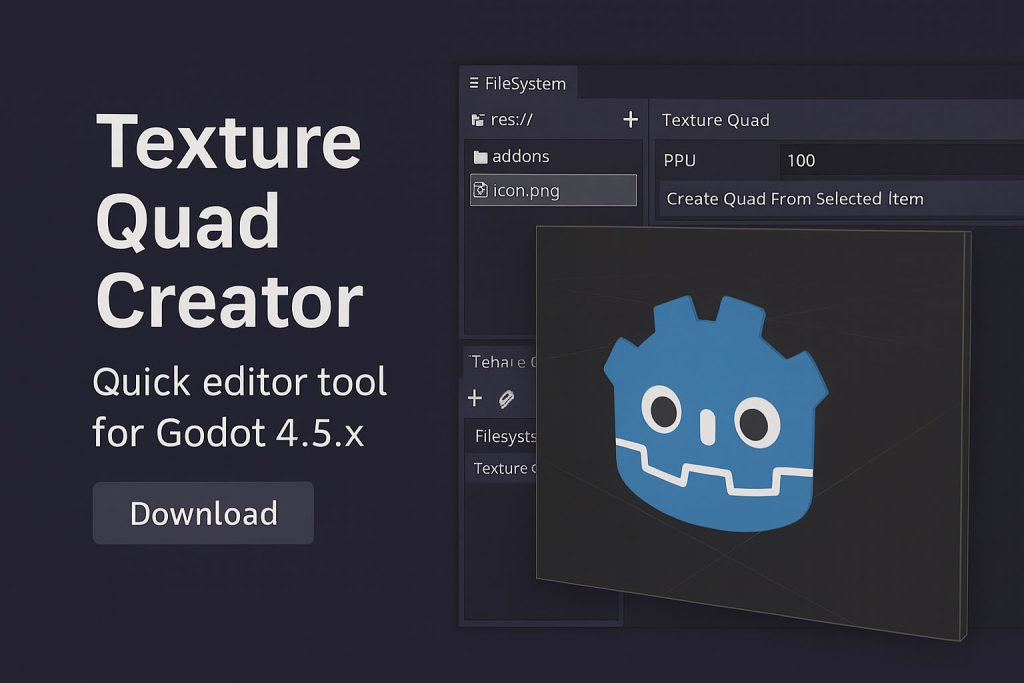
Texture Quad Creator is an EditorPlugin for Godot 4.5.x that:
lets you select an image in the FileSystem dock,
creates a new MeshInstance3D at the scene origin,
generates a QuadMesh sized so the quad matches the image pixel dimensions (scaled by a configurable Pixels Per Unit value),
applies the image as a texture and configures the material for correct alpha/blending and no backface culling,
selects the new node for immediate editing.
It’s aimed at artists and level designers who want to quickly place UI-like or 2D artwork into a 3D scene without manual mesh setup.
Key features
Exact pixel → world unit sizing via Pixels Per Unit (PPU).
Works with common image formats Godot imports (PNG, JPG, WEBP, TGA, BMP, SVG).
Adds the node directly to the currently opened scene and selects it immediately.
Install & enable
Download the plugin zip and extract to your project addons/ folder so you have: res://addons/texture_quad_creator/plugin.cfg res://addons/texture_quad_creator/texture_quad_creator.gd
In Godot: Project → Project Settings → Plugins and enableTexture Quad Creator.
The dock appears (by default) in the right sidebar as Texture Quad.
Open a 3D scene (the plugin adds the created node into the edited scene root).
In the FileSystem dock, select an image (single click or Ctrl+click).
Optionally adjust Pixels Per Unit:
1 PPU → 1 px = 1 world unit (huge in most projects)
100 PPU → 100 px = 1 world unit (good starting point)
Click Create Quad From Selected Image.
The new MeshInstance3D will appear at the scene origin named ImageQuad_<filename> and be selected.
Tips & recommended workflow
If your texture is used in 3D, check import settings (mipmaps / compression) and reimport if you need exact pixel rendering or no compression artifacts.
Use PPU to tune the quad scale so it fits your world. Try values like 32, 64, 100 depending on project scale.
If you want the quad to always face the camera, add a small Billboard script to it or parent it to a YSort/controller node.
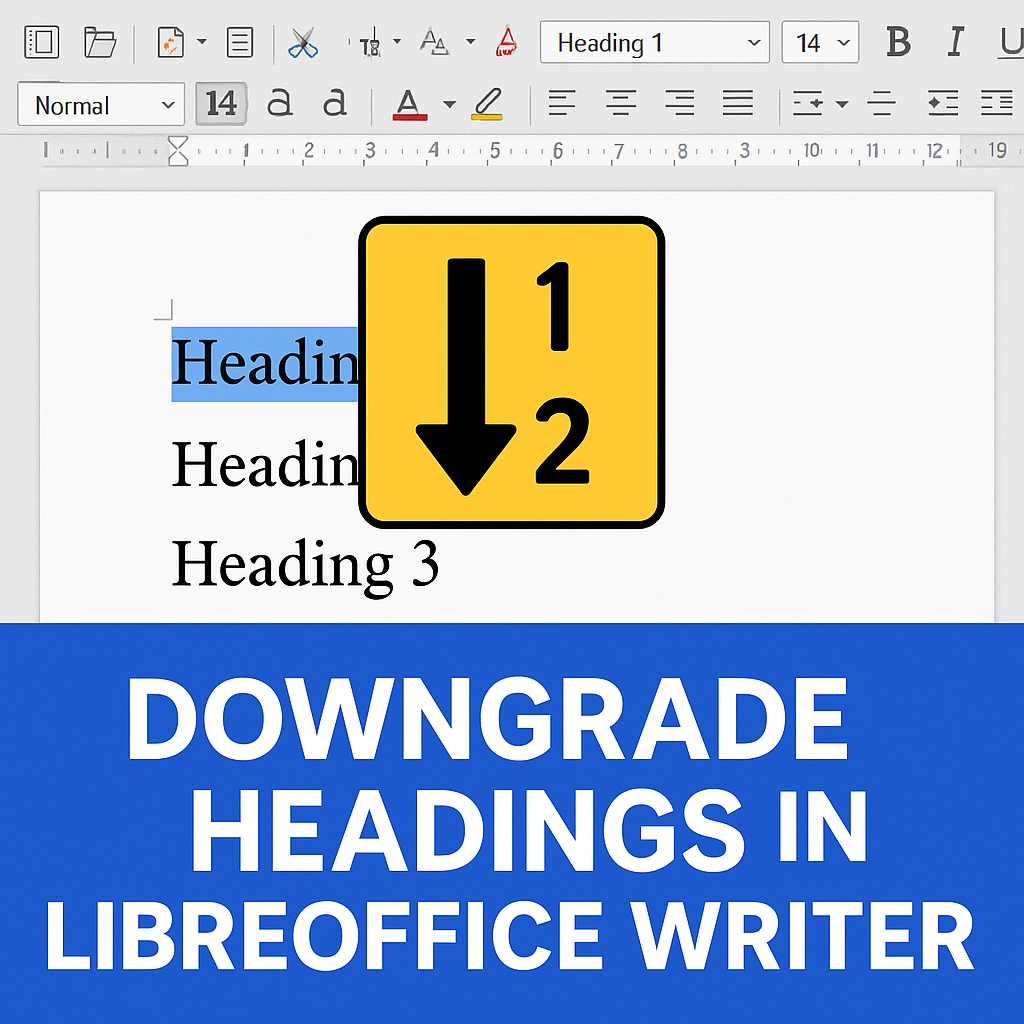
If you’ve ever pasted or imported text into LibreOffice Writer from another source, you might have run into a common formatting headache: the headings are all too high in the hierarchy.
For example, what should be a “Heading 2” in your document appears as “Heading 1,” bumping your outline out of balance and making your document structure harder to follow.
Why this happens
When content comes from another program — such as a web page, Markdown editor, or PDF — LibreOffice tries to match the original formatting to its built-in paragraph styles. It doesn’t always guess correctly, and often everything gets assigned to the top-level heading style.
The result: your imported section titles are at the wrong outline level, and fixing them manually means tediously selecting each heading and changing it one at a time.
A faster, smarter approach
You can save time by using a small LibreOffice macro that:
Works only on the selected text, leaving the rest of your document untouched.
Detects built-in heading styles (in English or Finnish).
Shifts every heading in the selection down one level — for example, Heading 1 becomes Heading 2, Heading 2 becomes Heading 3, and so on.
Keeps both the paragraph style and the document outline structure in sync.
How it works
The macro loops through each paragraph in your selection. If it finds a heading style, it replaces it with the next-level heading style and adjusts the outline level property so that your Navigator view stays accurate.
This makes it ideal when:
You’ve pasted content that should be subordinate to your main document’s headings.
You need to merge multiple documents without breaking the hierarchy.
You’re working with structured outlines that must remain consistent.
The benefits
With one quick run, you can:
Preserve the original heading hierarchy while fitting it into your existing document.
Avoid manual, repetitive style changes.
Keep your outline and navigation tools accurate and easy to use.
How to Create and Run the Heading-Downgrade Macro in LibreOffice Writer
Follow these steps to add the macro to LibreOffice Writer and use it on your selected text.
1. Open the LibreOffice Macro Editor
In LibreOffice Writer, go to Tools → Macros → Organize Macros → LibreOffice Basic.
In the dialog that appears, select either:
My Macros → Standard (makes the macro available in all documents), or
Your current document (macro will be saved only with this file).
Click New to create a new module, then give it a name (e.g., HeadingTools).
2. Paste the Macro Code
In the macro editor window, delete any sample code that’s there.
Paste the full macro code into the window (you’ll find the code below).
Click the Save icon or press Ctrl+S.
Close the macro editor.
3. Run the Macro
In your Writer document, select the text whose headings you want to downgrade.
Go to Tools → Macros → Run Macro….
In the dialog, navigate to the module where you saved the macro, select DowngradeSelectedHeadings, and click Run.
All headings in your selection will shift down by one level.
The code to paste:
Option Explicit

' --- Utilities ---
Private Function HasUnoProperty(o As Object, propName As String) As Boolean
    On Error GoTo EH
    HasUnoProperty = o.getPropertySetInfo().hasPropertyByName(propName)
    Exit Function
EH:
    HasUnoProperty = False
End Function

Private Function DemoteHeadingStyleName(ByVal s As String) As String
    ' Downgrade “Heading n” (EN) or “Otsikko n” (FI) by one level
    Dim prefixes(1) As String
    prefixes(0) = "Heading"
    prefixes(1) = "Otsikko"

    Dim i As Integer
    For i = LBound(prefixes) To UBound(prefixes)
        Dim pre As String : pre = prefixes(i)
        If Left$(s, Len(pre) + 1) = pre & " " Then
            Dim lvl As Integer : lvl = Val(Mid$(s, Len(pre) + 2))
            If lvl >= 1 And lvl < 10 Then
                DemoteHeadingStyleName = pre & " " & (lvl + 1)
            Else
                DemoteHeadingStyleName = s
            End If
            Exit Function
        End If
    Next i
    DemoteHeadingStyleName = ""  ' not a built-in heading style
End Function

' --- Main ---
Sub DowngradeSelectedHeadings()
    Dim oSel As Object
    oSel = ThisComponent.getCurrentSelection()
    If IsNull(oSel) Then Exit Sub

    If oSel.supportsService("com.sun.star.text.TextRanges") Then
        Dim i As Integer
        For i = 0 To oSel.getCount() - 1
            DemoteInRange oSel.getByIndex(i)
        Next i
    ElseIf oSel.supportsService("com.sun.star.text.TextRange") Then
        DemoteInRange oSel
    Else
        MsgBox "Please select text in Writer.", 64, "Downgrade headings"
    End If
End Sub

Private Sub DemoteInRange(oRange As Object)
    Dim oText As Object, oCursor As Object, oEnum As Object
    oText = oRange.getText()

    ' Create a cursor that spans exactly the selection
    oCursor = oText.createTextCursorByRange(oRange)
    oCursor.gotoRange(oRange.getEnd(), True)

    ' Enumerate paragraphs within the selection
    oEnum = oCursor.createEnumeration()
    Do While oEnum.hasMoreElements()
        Dim oPara As Object
        oPara = oEnum.nextElement()

        ' Safety: only handle real paragraphs
        If oPara.supportsService("com.sun.star.text.Paragraph") Then
            ' 1) Demote outline level if present
            If HasUnoProperty(oPara, "ParaOutlineLevel") Then
                Dim lvl As Integer
                lvl = oPara.ParaOutlineLevel
                If lvl >= 1 And lvl < 10 Then
                    oPara.ParaOutlineLevel = lvl + 1
                End If
            End If

            ' 2) Demote built-in heading style names (EN/FI)
            If HasUnoProperty(oPara, "ParaStyleName") Then
                Dim s As String, sNew As String
                s = oPara.ParaStyleName
                sNew = DemoteHeadingStyleName(s)
                If sNew <> "" Then oPara.ParaStyleName = sNew
            End If
        End If
    Loop
End Sub
Syncthing is a great program for file sync between devices.
When you set it up on a new device, it can sometimes be a bit difficult to find a folder that you have shared with the new device in the actual file system. The path might by default look like ~MyFolderName
That actually translates on Windows to C:\Users\SyncthingServiceAcct
So go into that folder and you will be able to find your SynchThing files!
Let’s break down a simple trick that can help you manipulate and understand your code better.
To begin with, access your developer console. This can usually be found in your browser’s Developer Tools under the ‘Console’ tab. Depending on the browser you’re using, you might need to use different shortcuts (like F12) or methods to open it. But don’t worry, a quick search on how to open the developer console in your specific browser should get you on the right track.
Once you’ve opened the console, the next step involves entering a particular command. All you need to do is simply paste the provided command line in the console. This is what we’re going to use to manipulate our code. After pasting the command, hit the ‘Enter’ key to execute it.
document.addEventListener('keydown', function (e) {

if (e.keyCode == 119) { // F8

debugger;

}

}, {

capture: true

});
Now, your code should still be in an ‘unpaused’ state. But when you press F8 on the keyboard, it should pause. It’s like freezing a moment in time, letting you thoroughly inspect and understand how your code behaves for specific elements. This can be especially useful when debugging hover-effects and mouseovers.
With this simple trick, your web development toolkit has a new superpower! Experiment, explore, and let your code reveal its secrets to you. Happy coding!”
If you want to pause your code execution in Chrome developer tools only after a certain iteration number of a loop has been reached, simply right click on the line number and choose “add conditional breakpoint”. Then just type in your condition and your done. Now the execution will only pause if the variable value is what you defined!